Fast Prototyping in SAP BTP, Kyma Runtime Using App Push
This tutorial shows how to deploy a single-container application in SAP BTP, Kyma runtime, using one CLI command kyma app push, then evolve it into an automated GitHub Actions CD pipeline. You don't need to hand-craft YAML, set up a container registry, or configure a CI/CD pipeline upfront — just code, deploy, and iterate.
It is a good fit when you have an app in any language supported by Cloud Native Buildpacks (Java, Node.js, Go, Python, .NET) and want a clear path from local development to a working prototype in the SAP BTP context — all without writing a Dockerfile.
For this example, use a Spring Boot application that exposes a REST API for managing movies and storing data in BTP Object Store.
Prerequisites
- SAP BTP, Kyma runtime enabled
- Kyma CLI installed
- kubectl configured to kubeconfig downloaded from SAP BTP, Kyma runtime
- Git installed
- Add the Istio, API Gateway, and BTP Operator Kyma modules, if not added by default
- The Docker Registry community module added
Clone the Git Repository
Clone the
movies-restfolder from the kyma-runtime-samples repository:Shell/Bashgit clone --filter=blob:none --no-checkout https://github.com/SAP-samples/kyma-runtime-samples cd kyma-runtime-samples git sparse-checkout init --no-cone git sparse-checkout set 'movies-rest/' git checkout
Create the Object Store ServiceInstance and ServiceBinding
NOTE
Object Store is used here for simplicity. For applications with structured, relational data, use a proper database such as SAP HANA Cloud or PostgreSQL.
Create the
devnamespace:Shell/Bashkubectl create namespace devCreate the Object Store ServiceInstance and ServiceBinding:
Shell/Bashkubectl -n dev apply -f - <<EOF apiVersion: services.cloud.sap.com/v1 kind: ServiceInstance metadata: name: object-store-instance spec: serviceOfferingName: objectstore servicePlanName: standard --- apiVersion: services.cloud.sap.com/v1 kind: ServiceBinding metadata: name: object-store-binding spec: serviceInstanceName: object-store-instance EOFWait for the binding to become ready:
Shell/Bashkubectl -n dev get servicebinding object-store-binding -wOnce the
STATUScolumn showsReady, a Kubernetes Secret namedobject-store-bindingis created in the namespace with the Object Store credentials.
Deploy the Application
From the
movies-restdirectory, run the following command to push the application:Shell/Bashkyma app push \ --name movies-rest \ --namespace dev \ --code-path . \ --container-port 8080 \ --expose \ --istio-inject=true \ --mount-service-binding-secret object-store-binding \ --env-from-file .envWhat happens under the hood:
- Source code is built into a container image using Cloud Native Buildpacks (Paketo). No Dockerfile is required — Buildpacks detect
pom.xmland automatically build a Java application with the correct JDK. - The image is pushed to the in-cluster Docker Registry.
- A Deployment, Service, and APIRule are created.
- The Object Store binding secret is mounted at
/bindings/secret-object-store-binding, andSERVICE_BINDING_ROOT=/bindingsis set automatically.
- Source code is built into a container image using Cloud Native Buildpacks (Paketo). No Dockerfile is required — Buildpacks detect
NOTE
The same approach works for any language supported by Cloud Native Buildpacks — Node.js, Go, Python, .NET, and more.
Verify the Deployment
Once
kyma app pushcompletes, it prints the app URL:The movies-rest app is available under the movies-rest.<CLUSTER_DOMAIN>.kyma.ondemand.comTIP
In quiet mode, the app URL is the only output — useful for capturing it in scripts:
Shell/BashAPP_URL=$(kyma app push ... --quiet) echo $APP_URLOpen the interactive Swagger UI in your browser at
https://<APP_URL>/swagger-ui.htmland test the CRUD operations on the movies endpoint.The OpenAPI specification is also available at
https://<APP_URL>/v3/api-docs.
(Optional) Automate Deployments with GitHub Actions
Once your prototype stabilizes, you can automate deployments on every push to your repository using GitHub Actions.
Push your application code to a GitHub repository, for example
https://github.com/<YOUR-ORG>/movies-rest.Authorize the repository's GitHub Actions workflows to deploy to your Kyma cluster:
Shell/Bashkyma alpha authorize repository \ --client-id my-client-id-for-gh-action \ --cluster-wide \ --clusterrole edit \ --repository <YOUR-ORG>/movies-restThis command configures your Kyma cluster to trust GitHub OIDC tokens issued for the specified repository. The workflow obtains cluster access using a short-lived GitHub OIDC token — no long-lived credentials are stored. The only values you need to keep as secrets are the API server URL and CA certificate, which are connection details rather than credentials.
NOTE
The
--clusterrole editflag is used here for simplicity. In production, choose the most restrictive ClusterRole that satisfies your workflow's needs. You can also limit authorization to a specific workflow, branch, or environment using--require-claim. Runkyma alpha authorize repository --helpfor details.Add the cluster connection details as GitHub Actions secrets. Run the following commands locally to get the values:
Shell/Bashkubectl config view --minify -o jsonpath='{.clusters[0].cluster.server}' kubectl config view --minify --raw -o jsonpath='{.clusters[0].cluster.certificate-authority-data}'In your GitHub repository, go to Settings > Secrets and variables > Actions > New repository secret and add:
SERVER— the API server URL returned by the first commandCA_CRT— the base64-encoded CA certificate returned by the second command
Create the following GitHub Actions workflow file in your repository at
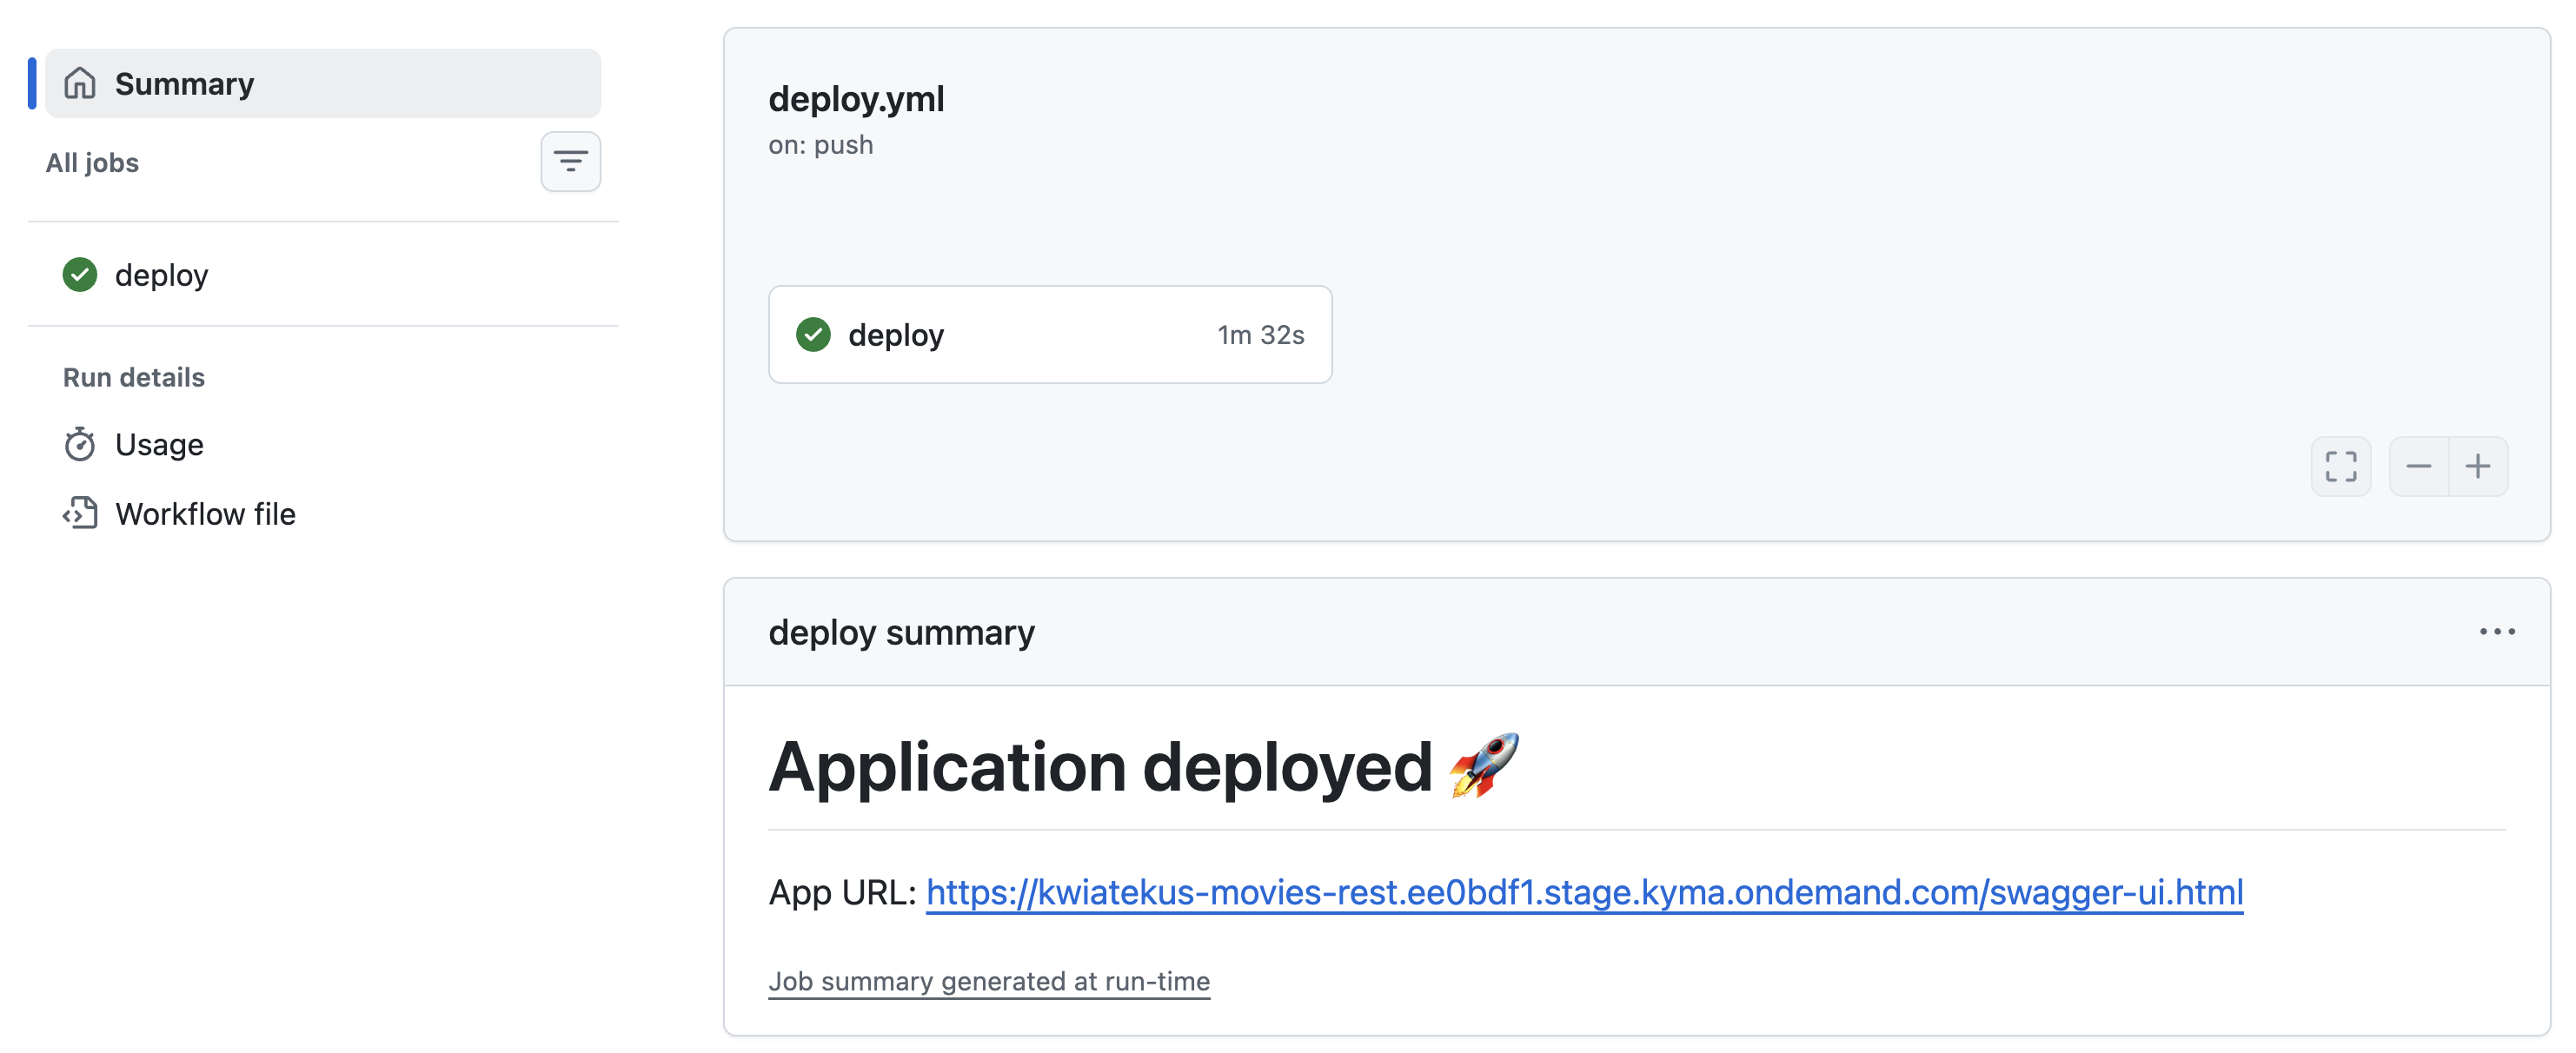
.github/workflows/deploy.yaml:yamlname: Deploy permissions: id-token: write contents: read on: push: branches: - main jobs: deploy: runs-on: ubuntu-latest steps: - uses: actions/checkout@v4 - name: Setup Kyma CLI uses: kyma-project/setup-kyma-cli@v1.1.0 - name: Get kubeconfig id: oidc uses: kyma-project/setup-kyma-cli/kubeconfig@v1.1.0 with: audience: "my-client-id-for-gh-action" api-server-url: "${{ secrets.SERVER }}" ca-crt: "${{ secrets.CA_CRT }}" id-token-auto-refresh: "true" - name: Set short SHA run: echo "SHORT_SHA=${GITHUB_SHA::7}" >> $GITHUB_ENV - uses: kyma-project/setup-kyma-cli/app-push@v1.1.0 with: name: movies-rest namespace: dev code-path: . build-tag: "${{ env.SHORT_SHA }}" container-port: "8080" expose: "true" istio-inject: "true" mount-service-binding-secret: object-store-binding kubeconfig: "${{ steps.oidc.outputs.kubeconfig }}" env-from-file: .env append-output-path: /swagger-ui.htmlEvery push to the
mainbranch now triggers a fresh build and deploy. No local tooling is required after the initial setup.
Summary
With kyma app push you go from source code to a running, externally accessible application with BTP service bindings in a single command. The same deployment can then be moved into a GitHub Actions workflow with zero code changes — just copy the flags into the action inputs.
This is not a throwaway prototype tool. The Deployment, Service, and APIRule it creates are standard Kubernetes resources you can later manage with Helm, Kustomize, or any GitOps tool.